November 8, 2026
What to Know Before Installing Artificial Turf in Your Yard
By @thesyntheticgrassscope
Artificial turf has become a practical option for homeowners who want a green yard without the constant watering, mowing, and fertilizing that natural grass demands. Whether you are replacing a tired lawn, creating a safe play area for pets, or building a backyard putting green, the success of the project depends largely on how well the ground is prepared and the materials are put together. Understanding what goes into the process helps you make informed decisions and avoid common mistakes that lead to uneven surfaces, poor drainage, or premature wear.
Planning Your Turf Project
Before any turf is laid, think about how the space will be used. A lawn that sees heavy foot traffic from children and dogs has different requirements than a decorative strip along a driveway. Pet areas need turf with good drainage and antimicrobial treatments to keep odors down. A putting green demands a firm, smooth base and a shorter pile height for consistent ball roll. Identifying the purpose early guides choices in base materials, infill, and turf type.
Also consider sunlight patterns. Some artificial grass products handle constant sun better than others, and areas that stay shaded may need a different backing material to prevent heat buildup. Measuring the area accurately and sketching the shape, including any curves or obstacles like trees and garden beds, helps when ordering materials. Most projects require a bit more turf than the measured area to allow for cutting and fitting around edges.
Base Preparation: The Foundation Matters
The most overlooked step in synthetic grass installation is base preparation. A solid, well-drained base keeps the turf flat, prevents dips and bumps, and allows water to pass through quickly. Without proper base work, even the best turf will look poor and may fail early.
Start by removing existing grass, weeds, and about three to four inches of topsoil. This depth allows room for the base material and the turf itself. After excavation, the ground should be compacted with a plate compactor or hand tamper. For larger areas, renting a machine compactor is worth the effort. Any soft spots need to be dug out and replaced with compactable fill.
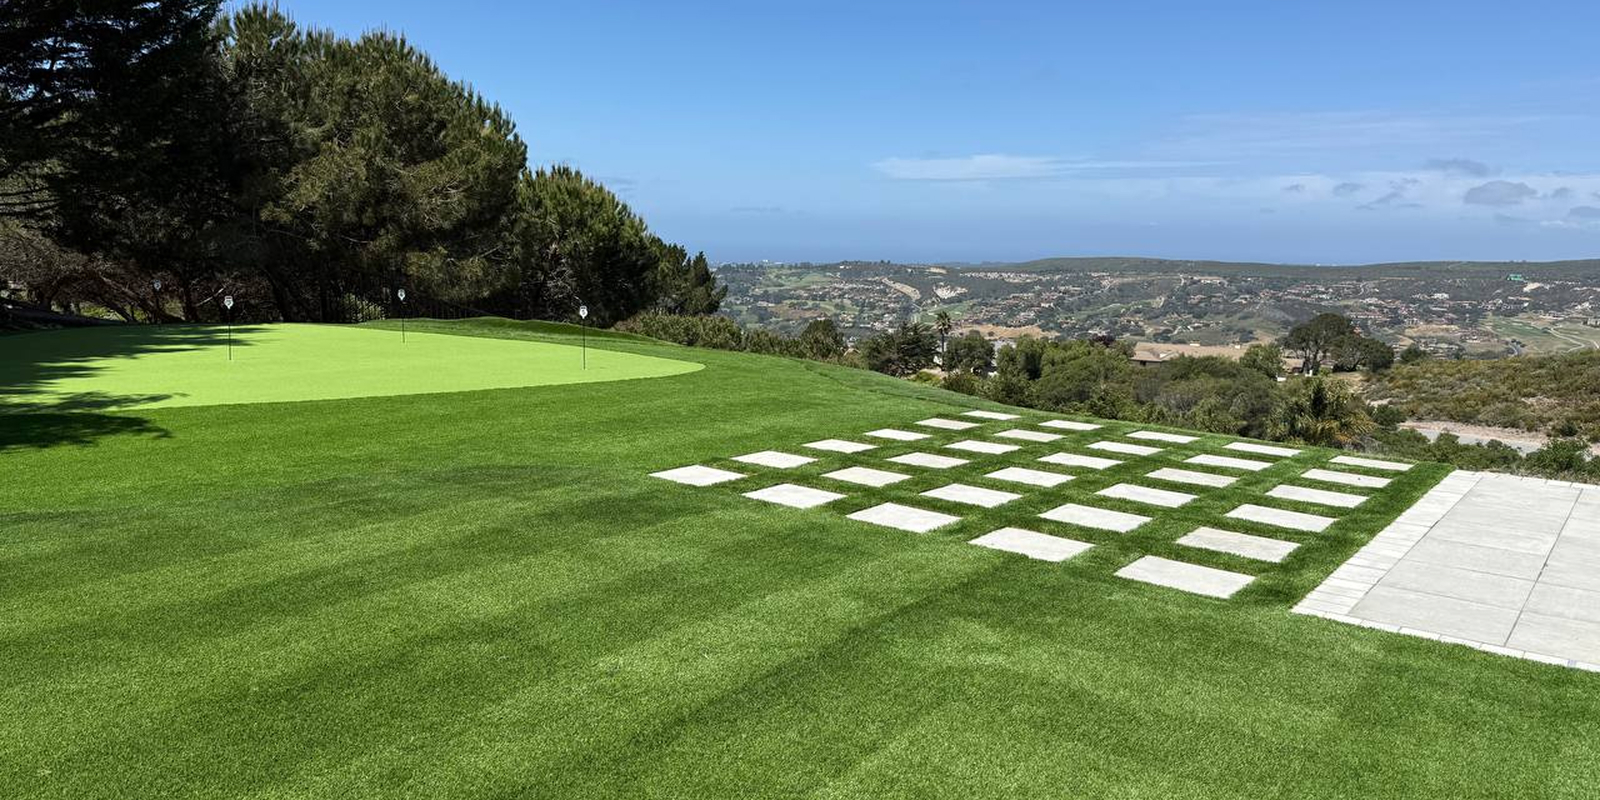
Next comes a layer of crushed stone or decomposed granite, typically three to four inches thick. This material locks together when compacted, creating a stable surface that resists shifting. A weed membrane is often placed over the compacted base to block weed growth from below. While no membrane stops every weed forever, it greatly reduces maintenance. The base should slope slightly away from buildings, about one percent grade, to direct water toward drainage areas. Check the slope with a level or string line before moving on.
Drainage: Keeping Water Moving
Artificial turf is permeable, but the layers beneath it must allow water to escape. If water pools under the turf, it can lead to soggy spots, mold, or odors. The crushed stone base acts as a drainage layer, storing water until it can soak into the soil below or drain away. In heavy clay soils, you may need to add a perforated drain pipe along the low edge of the area to carry water out. For small residential lawns, a well-compacted gravel base usually provides enough drainage on its own.
Testing drainage before laying the turf is simple. Pour a few gallons of water on the prepared base and watch how it behaves. If water sits for more than a few minutes, improve the slope or add drainage channels. This small test saves headaches later.
Choosing and Installing the Turf
With the base prepared, the next step is laying the turf rolls. Allow the turf to sit in the sun for an hour or two before cutting, as warmth makes the material more flexible. Roll out each piece and let it relax; wrinkles and creases often flatten on their own within a short time. If the area requires multiple pieces, arrange them so the nap (the direction the blades lean) runs the same way for a uniform look.
Cutting the turf to shape requires a sharp utility knife and a straight edge. Cut from the back side for cleaner edges, and leave a little extra material along curves that can be trimmed after fitting. Where two pieces meet, the seam must be nearly invisible. This is where seam tape and adhesive come in. Lay the tape under the joint, apply adhesive, and press the edges together firmly. Weights or sandbags over the seam while the adhesive cures help create a tight bond. A well-taped seam stays flat and does not separate over time.
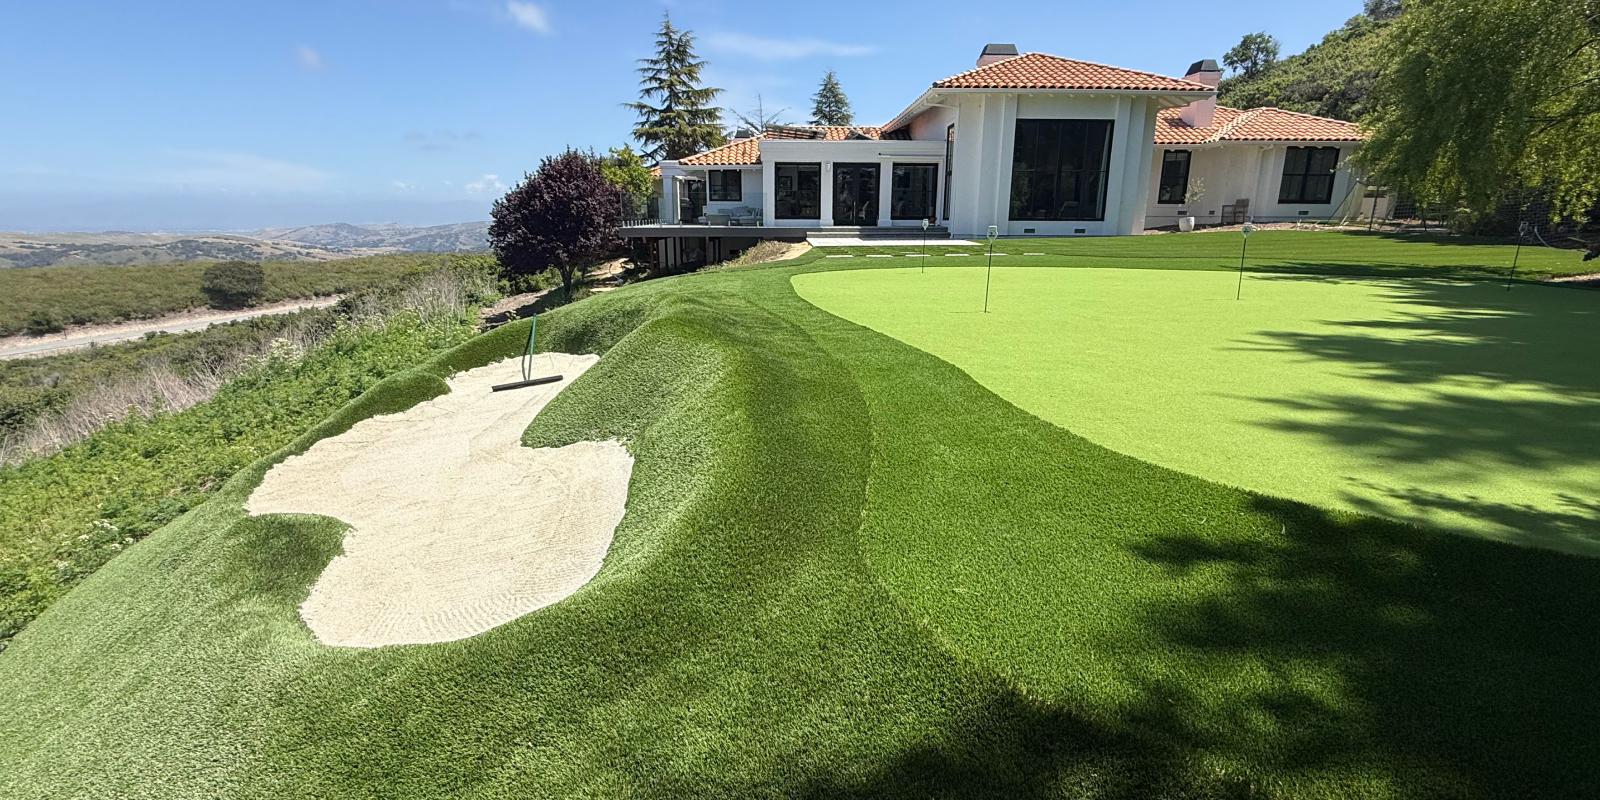
One of the most important aspects of synthetic grass installation is securing the perimeter. The edges of the turf should be fastened with galvanized stakes or landscape spikes every six to eight inches, and the edge hidden against a border like a concrete walkway, paver, or timber. Loose edges lift in wind and collect debris, so take time to secure them well.
Adding Infill
Infill material serves several purposes. It weighs down the turf, helps the blades stand upright, provides cushioning underfoot, and can control odors in pet areas. Common infill options include silica sand, rubber crumb, and organic materials like cork or coconut fiber. The choice depends on the use case. For a putting green, silica sand is standard. For pet turf, an antimicrobial infill mixed with sand helps neutralize urine odors. A stabilizer grid can be used under the turf in areas with heavy traffic or steep slopes to prevent shifting, though for most flat residential lawns, infill alone is sufficient.
Spread infill evenly using a drop spreader or a shovel, then brush it into the turf fibers with a stiff broom or a power brush. The infill should settle below the tips of the blades, not sit on top. Brushing in multiple directions ensures even distribution. After installation, water the turf lightly to help the infill settle and to rinse any dust off the blades.
Common Mistakes to Avoid
Several pitfalls trip up first-time installers. One is skimping on base depth. A thin base layer leads to dips and poor drainage. Another is failing to compact the base adequately. Loose base material settles unevenly over time, creating a lumpy surface. Using too little infill leaves the turf feeling spongy and causes the blades to lie flat. Not securing edges properly results in lifting and fraying. And rushing the seam process often leaves visible gaps that collect debris.
Another common error is choosing turf with the wrong pile height for the application. Tall, lush turf looks great but can mat down in high-traffic areas. Shorter turf holds up better in pet zones and play areas. Always check the manufacturer's recommendations for infill amounts and maintenance schedules. Each product performs best when installed as intended.
Long-Term Care
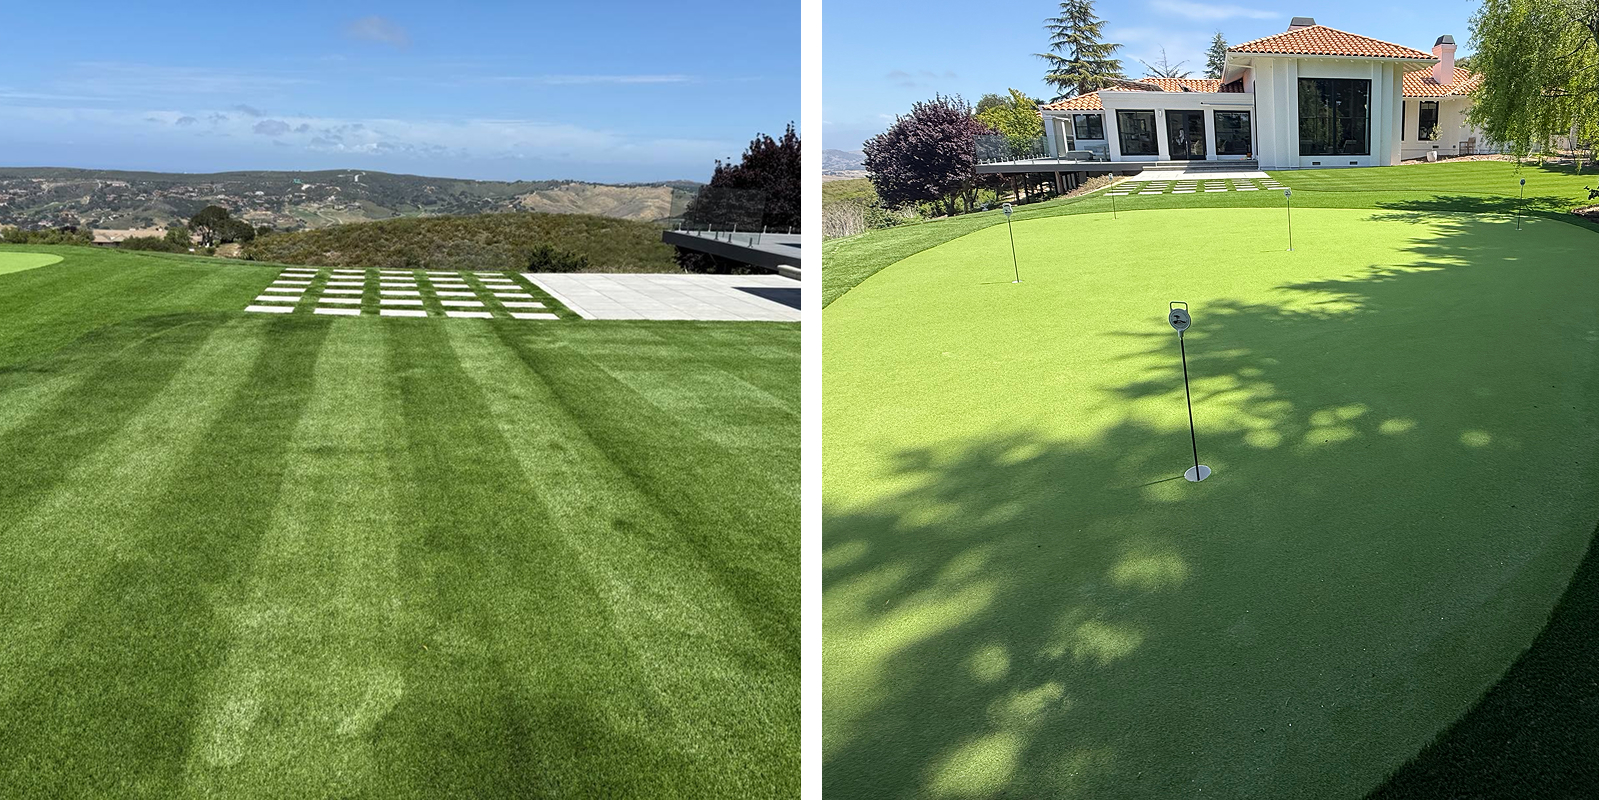
Artificial turf requires less maintenance than natural grass, but it is not zero maintenance. Raking or brushing the fibers every few weeks keeps them upright and prevents matting. Leaves and debris should be removed with a leaf blower or a plastic rake. Pet waste must be picked up promptly, and the area rinsed occasionally to keep it fresh. If you notice weeds sprouting along edges or seams, spot-treat them with a weed killer that will not damage the turf backing. With regular care, a well-installed artificial lawn stays attractive for many years.
Understanding the full process before starting a synthetic grass installation helps you avoid surprises and get the result you want. Good base work, careful seaming, proper infill, and attention to drainage all contribute to a lawn that looks great and lasts. Whether you are taking on the project yourself or hiring a professional, knowing these fundamentals lets you ask the right questions and make sure the job is done right.
❧